In the last two parts we have discussed about composition and exposure, the two things that are to be kept in mind before and while taking a picture. Now we are going to get into post processing – the step that comes after the picture is taken. Unlike the previous steps, this is not an absolute necessity; but post processing can transform a good picture into a stunning one. This is what can make a picture stand out, and, more often than not, most published pictures are post processed to some extent.
It is quite difficult to decide which picture to process, and to what extent, to make it ready for publishing. This is an acquired skill. Initially it may may be tempting to touch and retouch all pictures. It is also tempting to modify the images to a large extent and thereby using all the tools that are easily available nowadays, but that is not adviceable. A rule of thumb is, the photo should not look “touched” after post processing is done unless, of course, the goal is to produce an image that is not supposed to look natural.
Before we get into the steps of post processing, lets look at the tools that we have at our disposal. In this article I am going to discuss digital photos specifically, and hence the traditional dark room tools will not be discussed. Most computers today come with some photo manipulation software – for example iPhoto in OS X, Windows Photo Viewer in Windows etc. have basic photo editing capabilities (although iPhoto is quite a bit more powerful when compared to Windows Photo Viewer) and may be sufficient for basic needs. Free softwares are available for more advance needs for most operating systems including OS X, Linux and Windows. These softwares include:
- Google Picasa (for OS X, Windows and Linux)
- GNU Image Manipulation Program or Gimp (for OS X, Windows and Linux)
- Paint.Net (for Windows) etc.
For professionals willing to purchase softwares there are many more options available like:
- Adobe Photoshop (for OS X and Windows)
- Apple Aperture (for OS X) etc.
But for most purposes, the free softwares mentioned above should be sufficiently capable, some more than others, and which ones to use will be based on the task to be performed and on personal preference.
Note that I am not going to get into the details of how to use these softwares in this article. I am merely going to give a few pointers on the possibilities that are available to a photographer today. Also, the softwares mentioned above, both free and paid, are by no means exhaustive, and upon research many more options may become available to those interested.
With that said, let’s get into the three types of Post Processing.
Cropping
Cropping involves taking a portion of a picture out. Cropping may be required for two reasons:
- For resizing the photo to a particular height/length ratio (for example, for preparing a desktop wallpaper)
- For recomposing an image.
Take this image for instance. It was taken to capture the mountain as much as possible with a dry tree in the foreground.

But it also provides an interesting point of interest – the solitary dry leaf. We can use cropping to focus of that.

Cropping allows to redefine the focal point of the image as well as to provide a new viewpoint.
Color Correction
Color correction can include a number of steps including white balance setting, color saturation setting and color temperature setting.
White balance setting specifies the color of the light. Color under direct sunlight do not look the same as that under a fluorescent light. White balance tries to correct this discrepancies. Take the image below, taken under yellow light:

If we change the white balance, the marbles may look like this under flash, which is much bluish in color:

This color correction is a little exaggerated to show the difference, but the idea is to get as close to natural color as possible.
Color saturation can also help improve a picture. The following picture: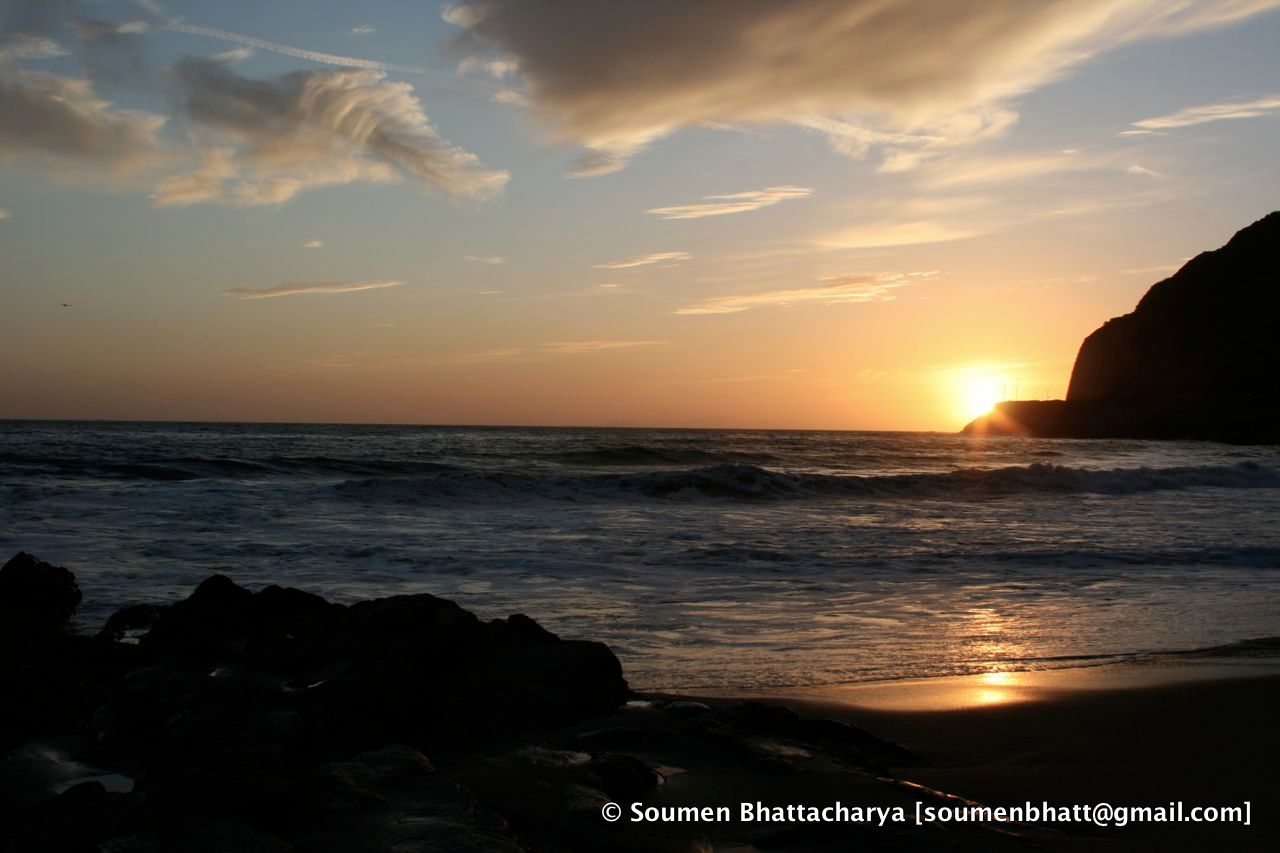
deserves a little more punch. We increase the color saturation a bit, and change the color temperature towards red, and we get:
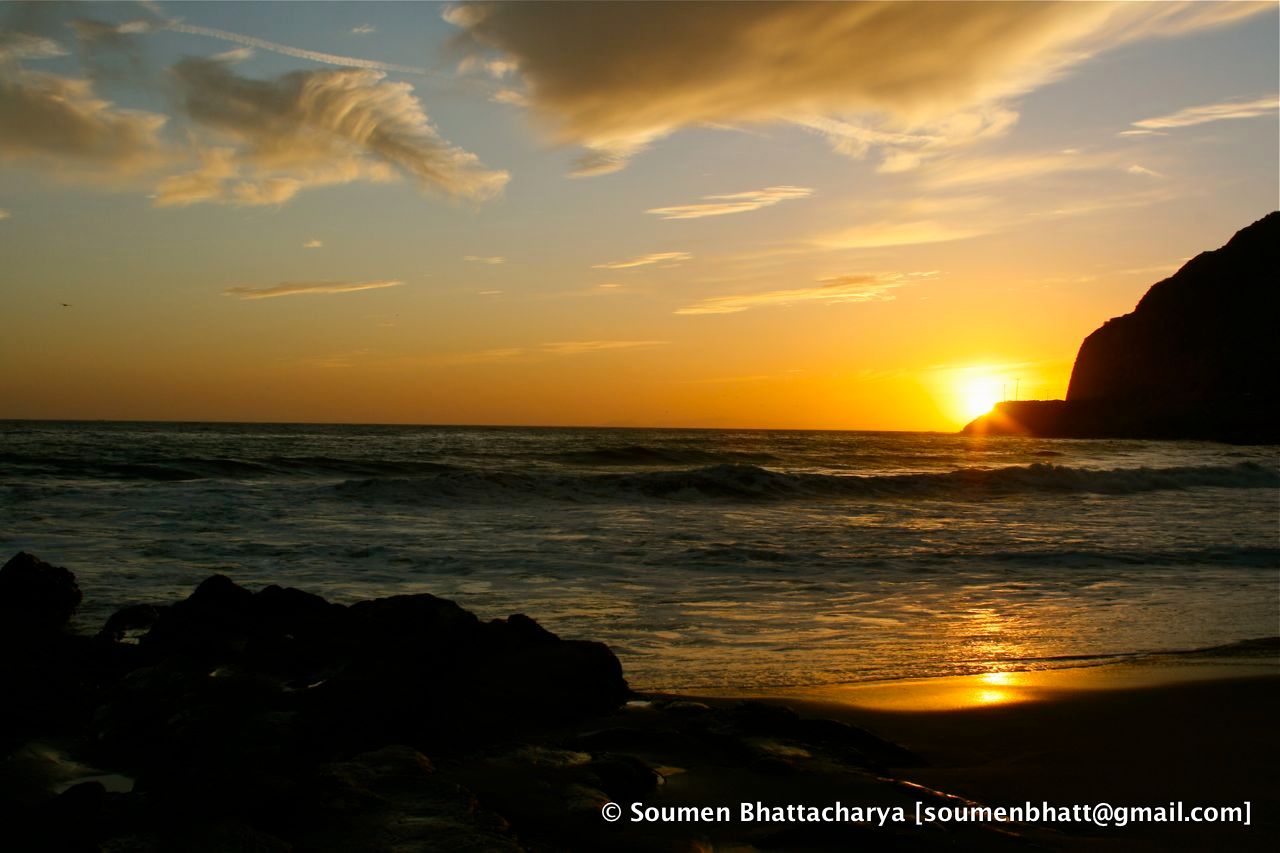
A much more dramatic color for the setting sun.
Special Effects
What is a special effect? I will call anything that is done to change a portion of a picture rather than the whole picture (other than cropping, of course) a special effect. It requires considerable more time and dexterity for applying these effects (although things like red eye reduction are mostly automated in today’s softwares).
Let’s start with a simple example. Take a simple picture:
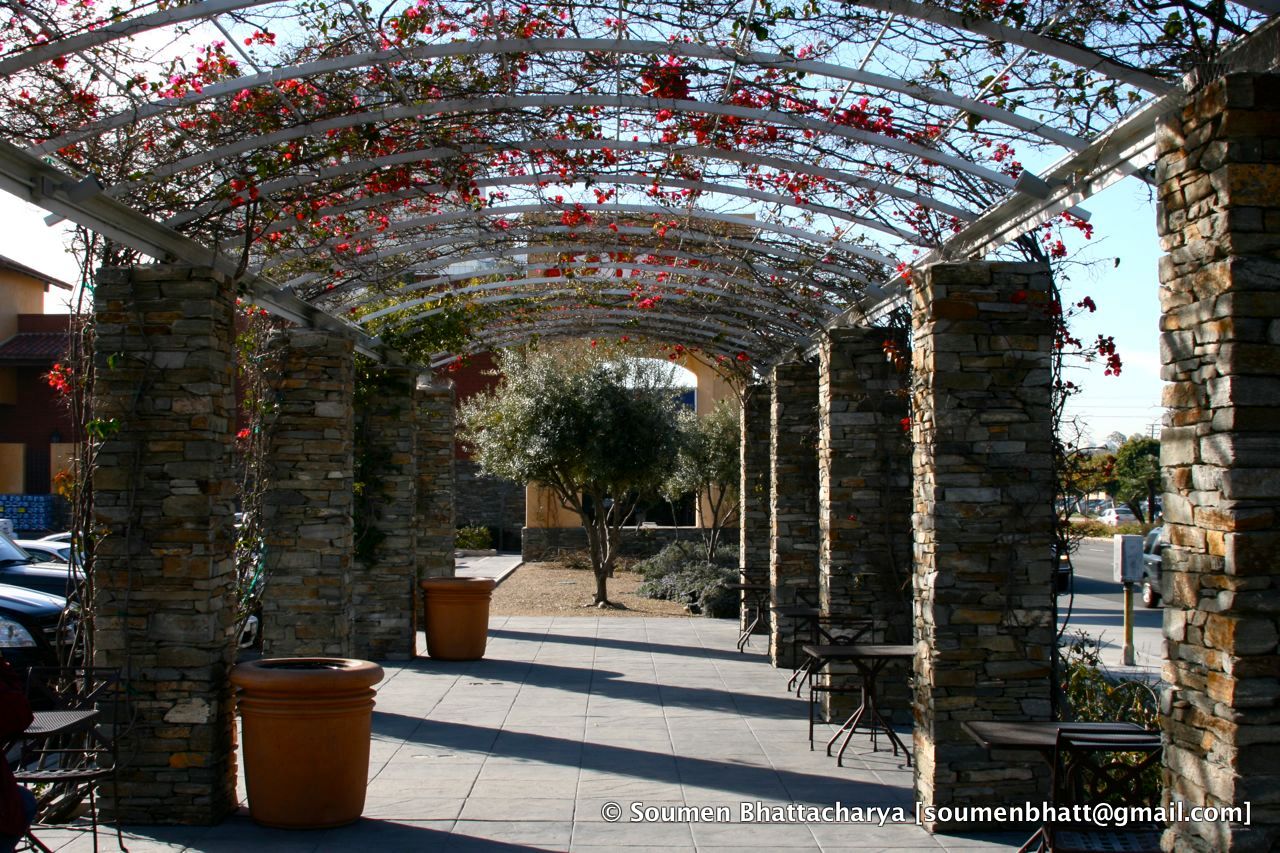
and blur the edges to give it a dreamy quality:
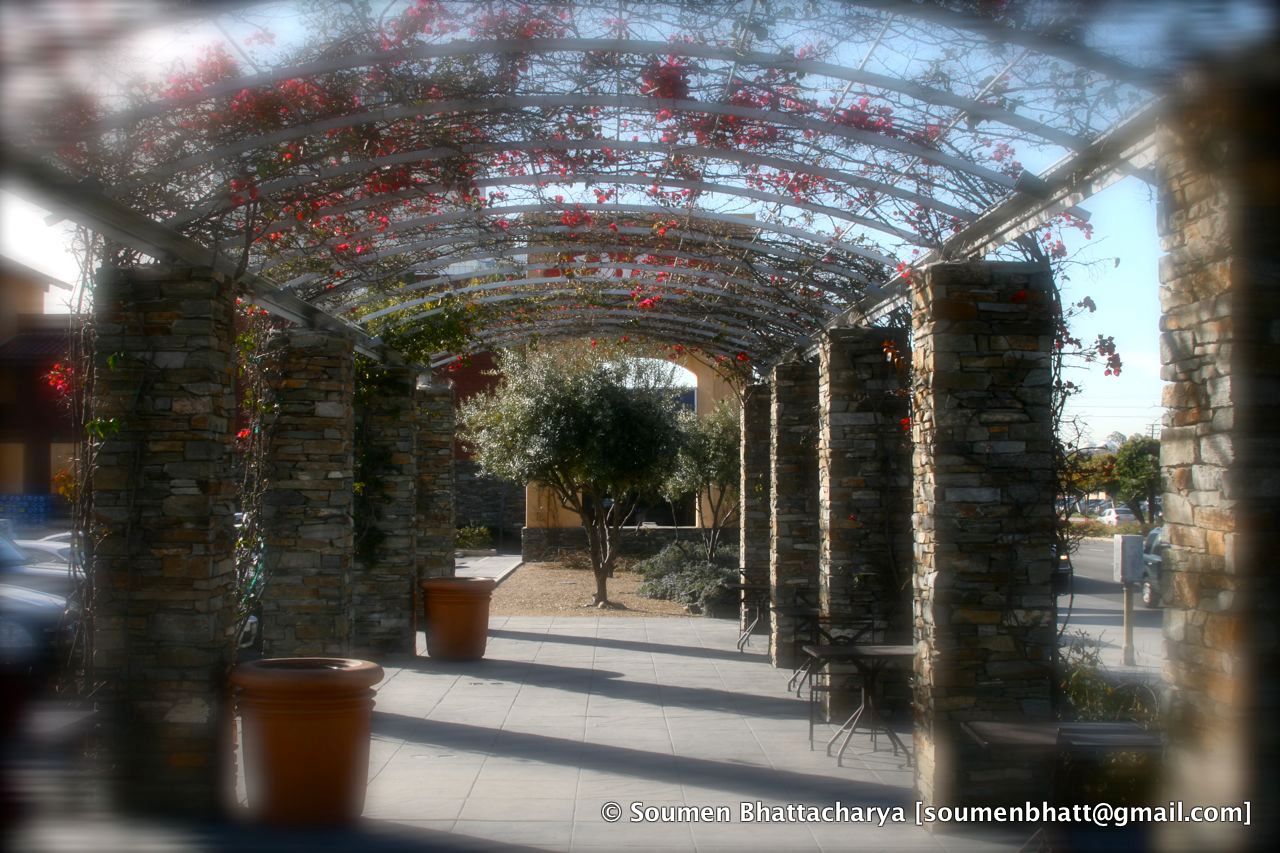
Edge blur is one of the simplest special effects.
Here’s one example where two different photos were merged:
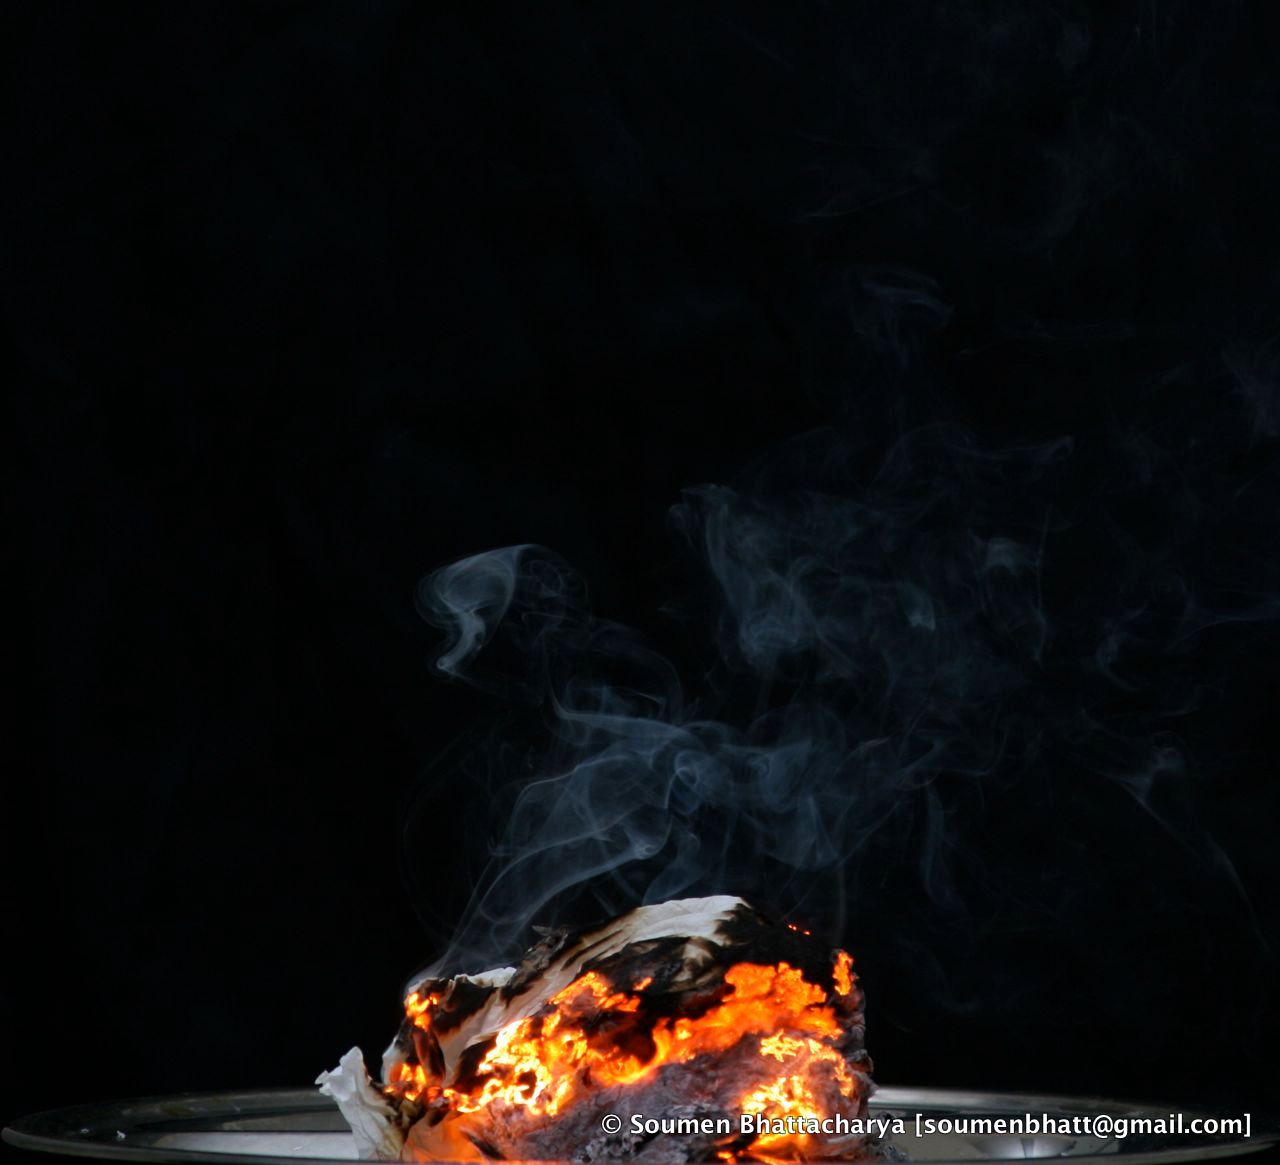
Since the fire is much brighter than the smoke, it’s very difficult to get them both clearly in a single picture. Hence two pictures were taken – the smoke at high exposure and the fire at a low exposure, and then they were merged to create this image.
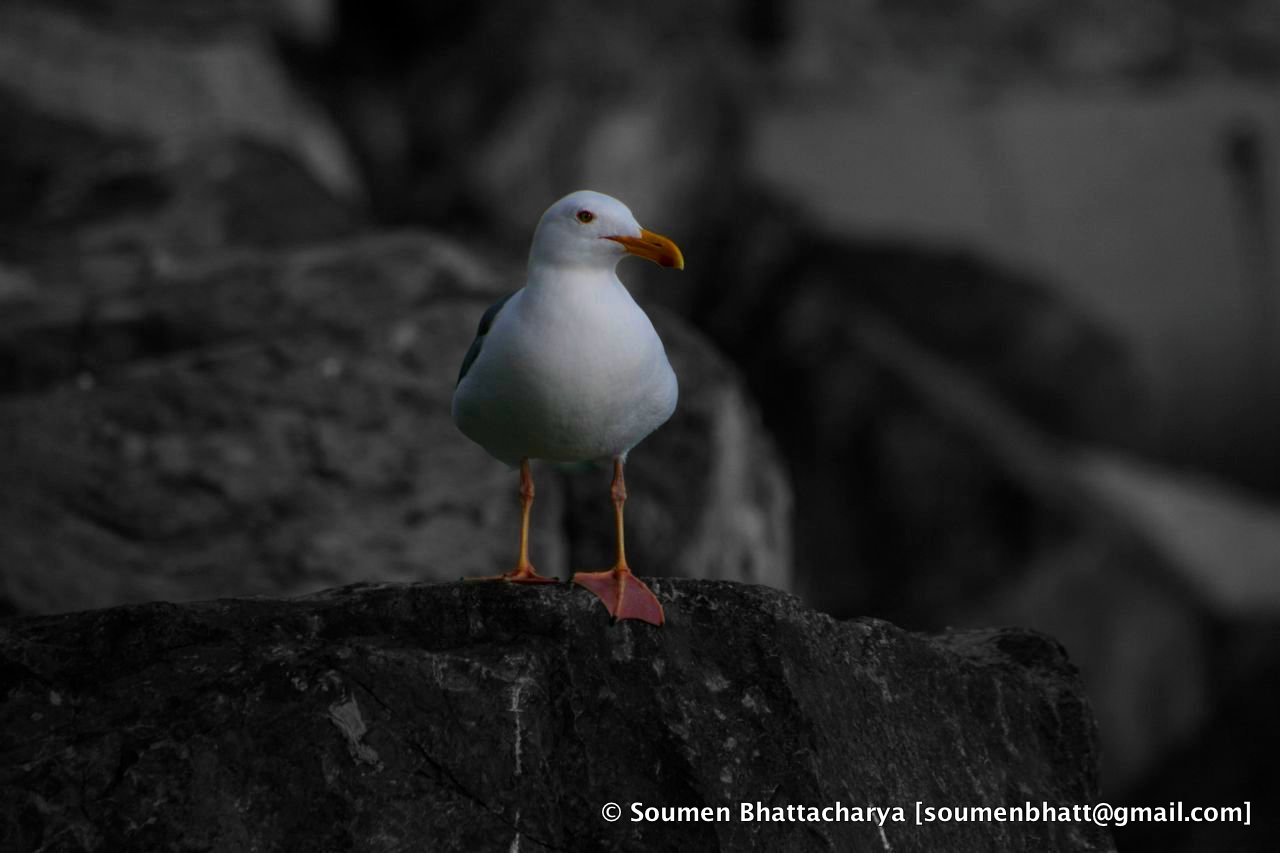
And lastly, let’s look at a picture where the subject is kept in color, but the background has been changed to black and white:
Of course, a picture can be modified in many more ways, but listing them all was not the intention of this article. I wanted to give a starting point on how to prepare pictures for publishing.
Thanks for reading this series on photography. I will write more articles on this subject in future, and if you liked this series, hopefully you will like them too. But for now, I will give this subject a little rest, and will start writing on some other stuff that interests me. Stay tuned!
I was very fantastic why i not see your blog before i will come back.
Hey man, was just browsing through the internet looking for some information and came across your blog. I am impressed by the information that you have on this blog. It shows how well you understand this subject. Bookmarked this page, will come back for more. You, my friend, ROCK!!!
I Justwould like to say howdy and to let you know that I really love readingyour blog, it is very well written and articulate. Keep up the good work! Check out my new blog called mountain bike shoes
Hey there wonderful article, i know that this is a little bit of off subject nevertheless is the Sigma 105mm f/2.8 EX DG Macro Lens a decent buy? i’ve come across some review articles still i wouldn’t like to throw away $500 on it. also are there any beneficial boards that i can join in digital photography thank you William from great britain…english is not my 1st language
You post informative posts, bookmarked for future referrence !
It is good too read your blog again, i see some interesting updates here..
Other important Digital Art tools that will assist you in making artistic statements with your photographs include global or selective dodging, burning, blurring and mosaic.